|
|
 |
Valve Spindle Yoke
... that's a 3/8" thick 303 just right for 3 pieces ... one spare!
|
|
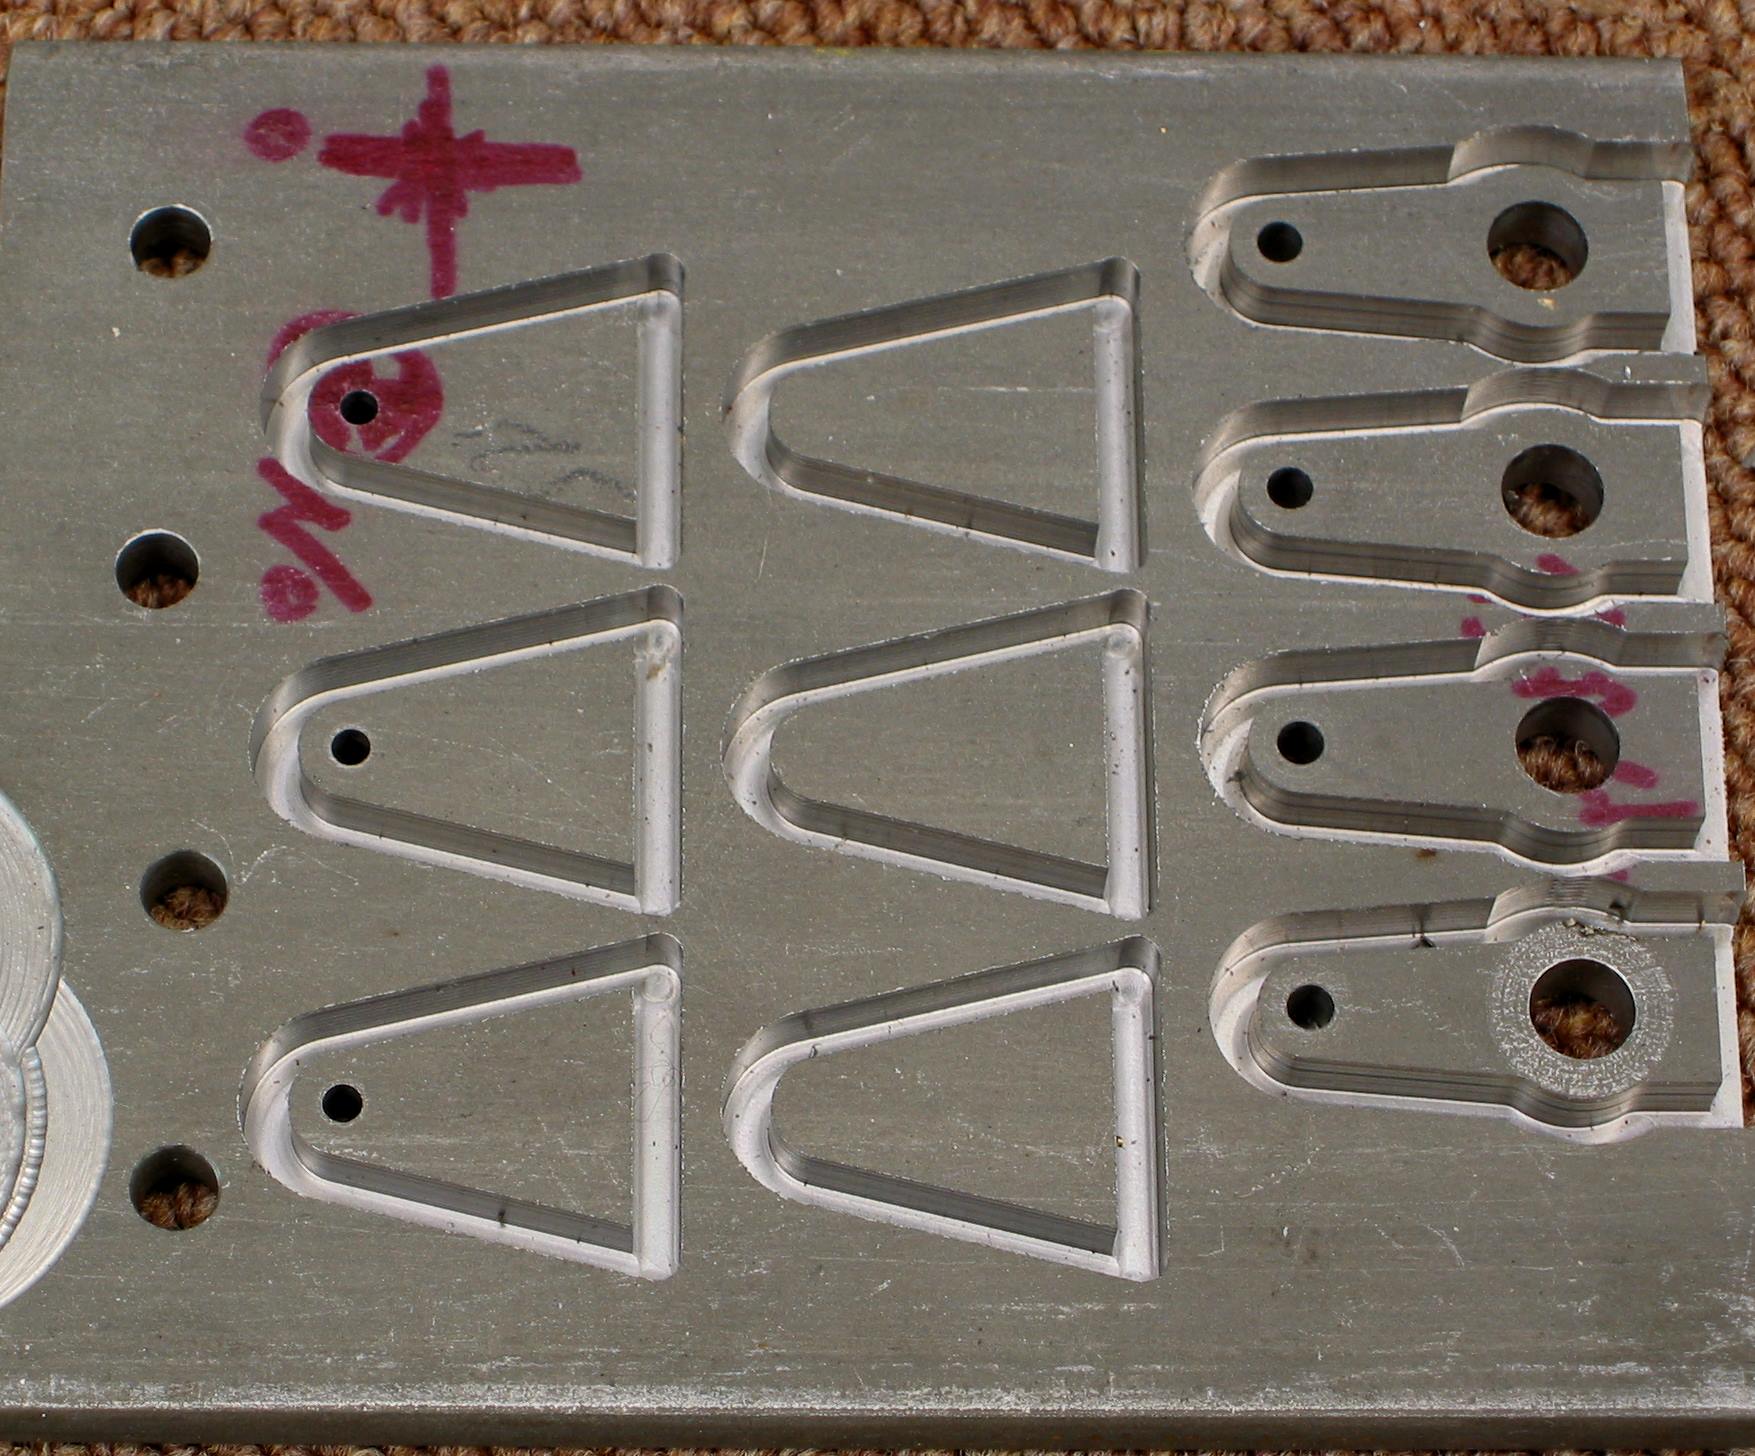
Link Bracket (Left) and Return Crank ... on 1/4" plate. The 3
drilled holes will be matched to the 3 that are not drill then
drilled/reamed together. I do need to get better at material use. There
is a lot of waste here.
|
 |
|
 |
Union Link and Link Bracket with spare parts and more waste.
|
|
Expansion Link ... no spare parts here. Will have to be careful when
removing these.
|
 |
|
 |
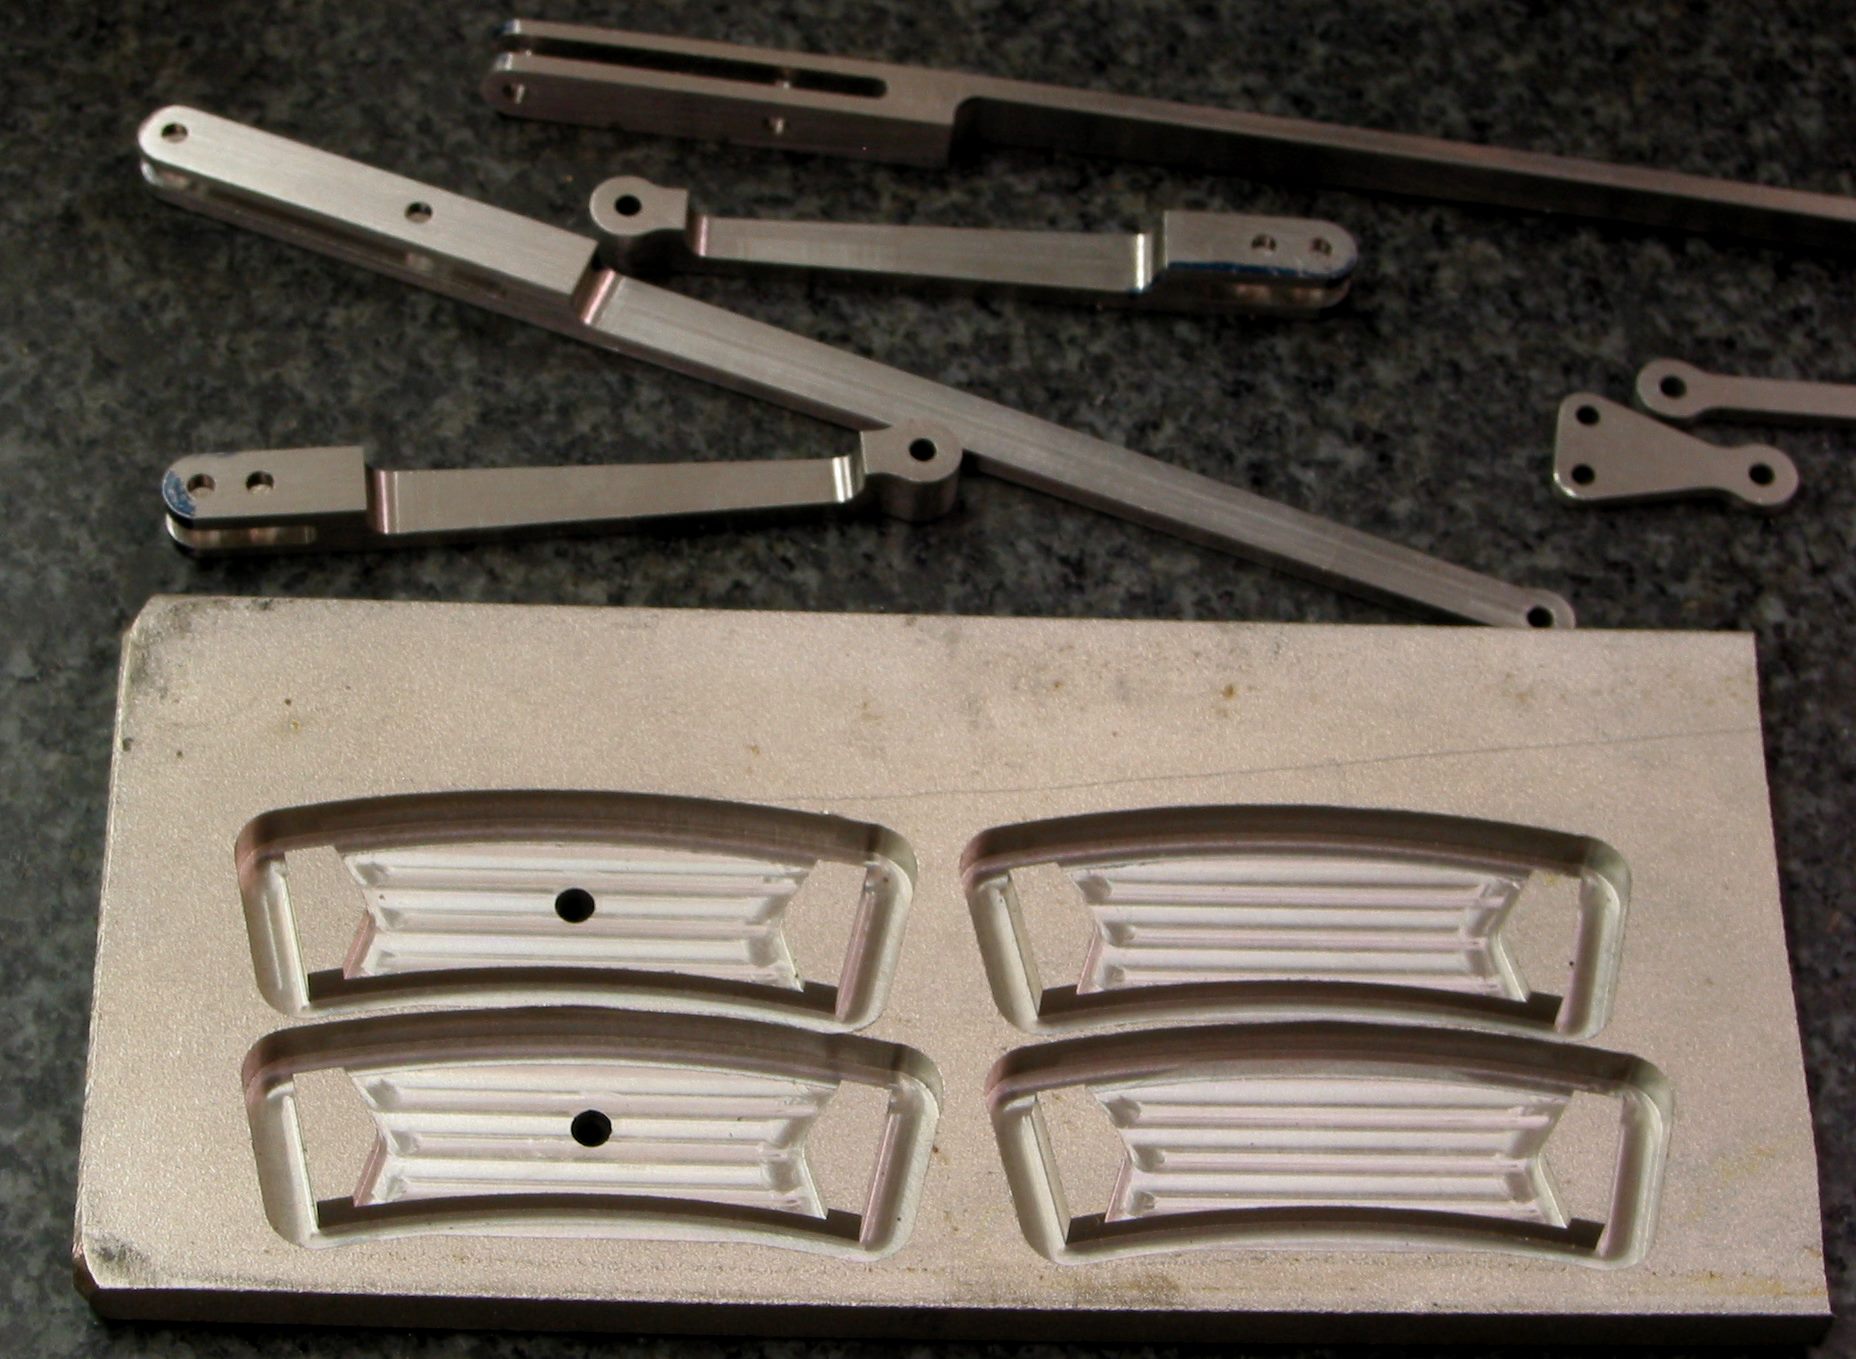
Link Block ... Soft soldered a slice of Bronze
on a Brass plate, mounted that on a plate of aluminum for strength. Then
CNCed the Block. Hard to see, but there is a radius on the top and
bottom.
|
|
936 Bronze for the Valve.
|
 |
|
 |
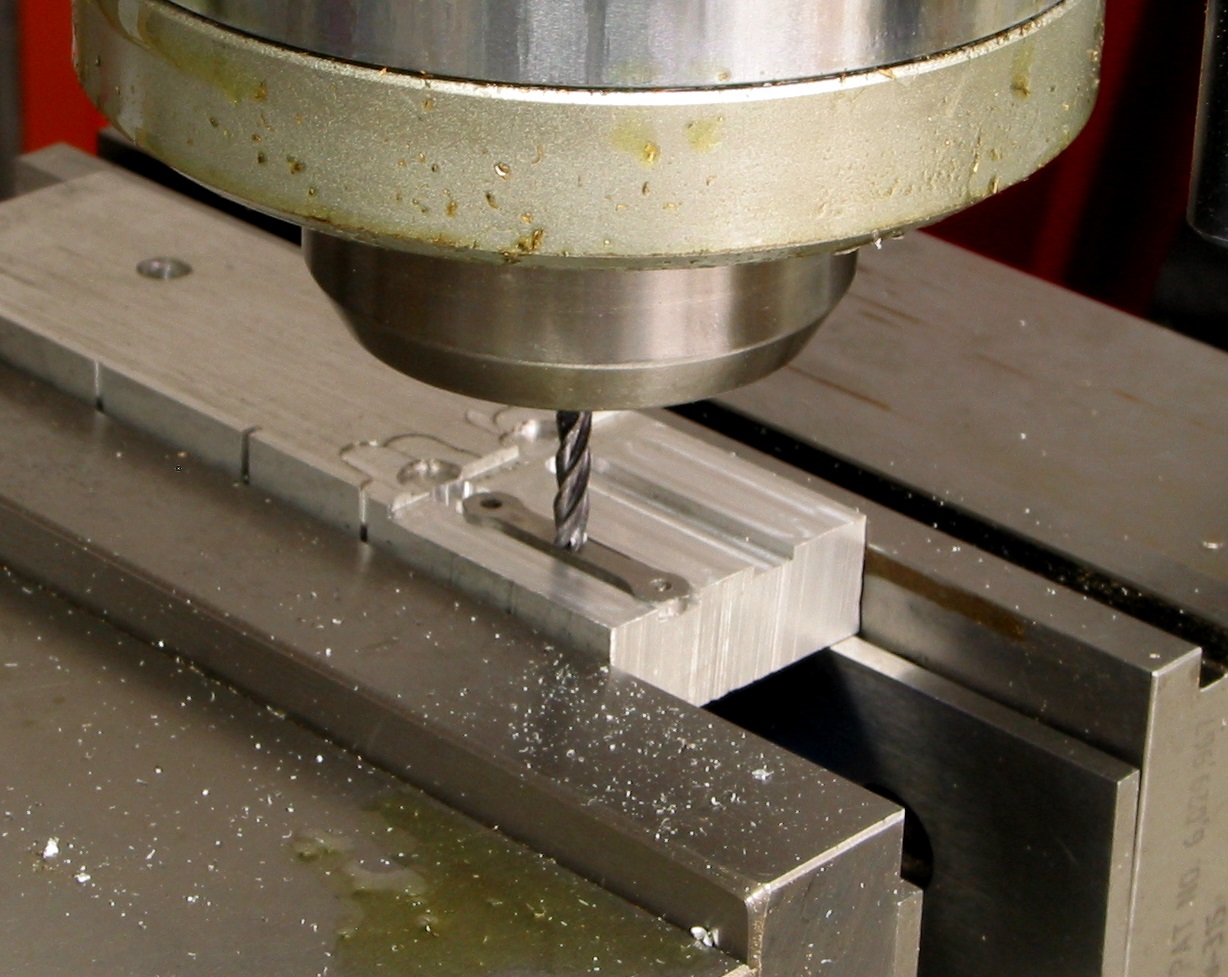
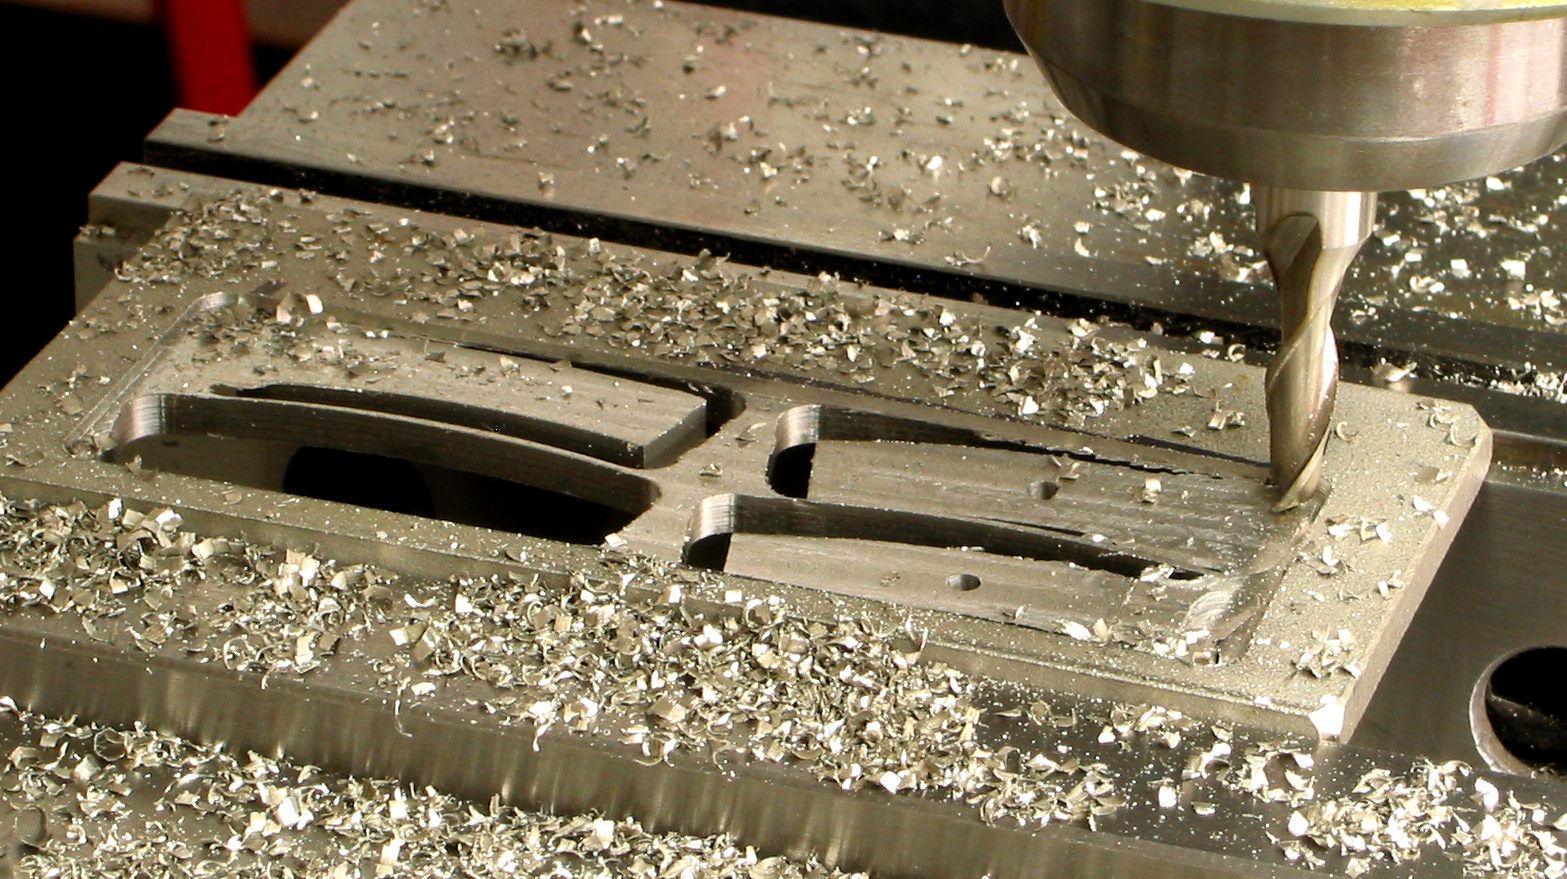
| Machining out the bottom rectangle of the Valve
using a 1/8" Carbide end mill. I did lay it out first but used the DRO
for the final cutting. |
|
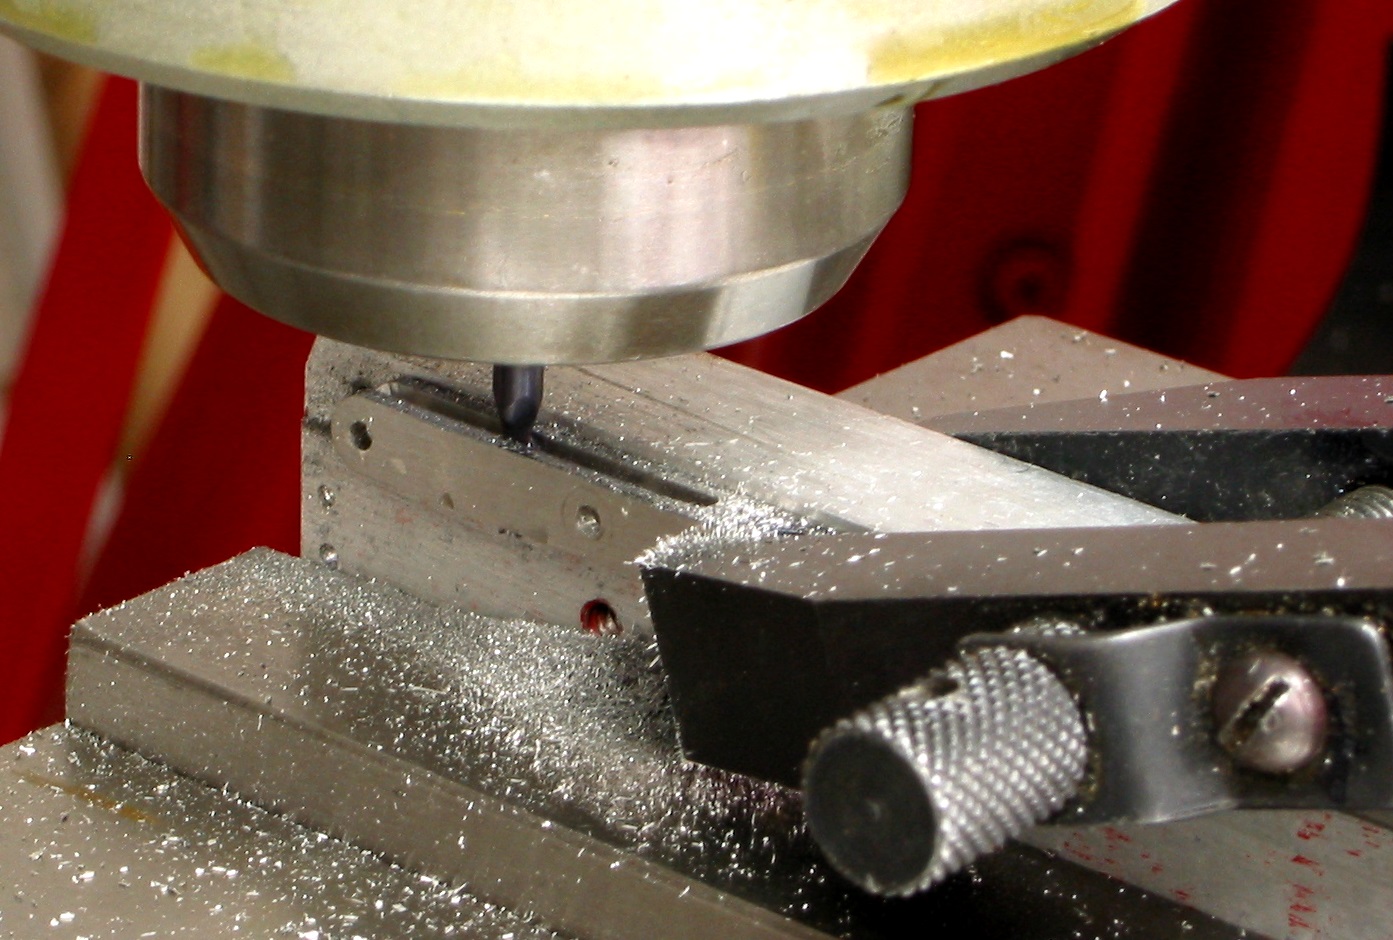
Top side of the Valve using an adjustable Angle Block. |
 |
|
 |
Valve Nut ...
again soft soldered the Brass, milled the height then milled the
perimeter, unsoldered and sanded to final dimensions.
|
|
Union Link being milled to final thickness. Here I cut a slot in the
soft aluminum and pressed in the Link. Just enough holding force to mill
using small cuts.
|
 |
|
 |
Side cutting the Combination Lever ... fairly
easy, the slot was not as easy ... just had to be extra careful.
|
|
Radius Rod ... cutting the slot using a very small end mill. Slow and
easy... gave good results.
|
 |
|
 |
| Trunnion Plates ... and other parts. |
|
Milling out the Trunnion Plates... the first cuts are to get the
thickness close to .125" say about .135" or so. Then cut the perimeter
so that it almost drops out.
|
 |
|
 |
| Milling to the final thickness .125" |
|
Put it together, drilling the hole using the one side as a drill jig
then ream.
|
 |
|
 |
| The Link
Bracket ... set the adjustable angle block to get the hole vertical. |
|
Link Bracket side being milled
using the aluminum as a fixture ... note that it is bolted on the edge.
|
 |
|
 |
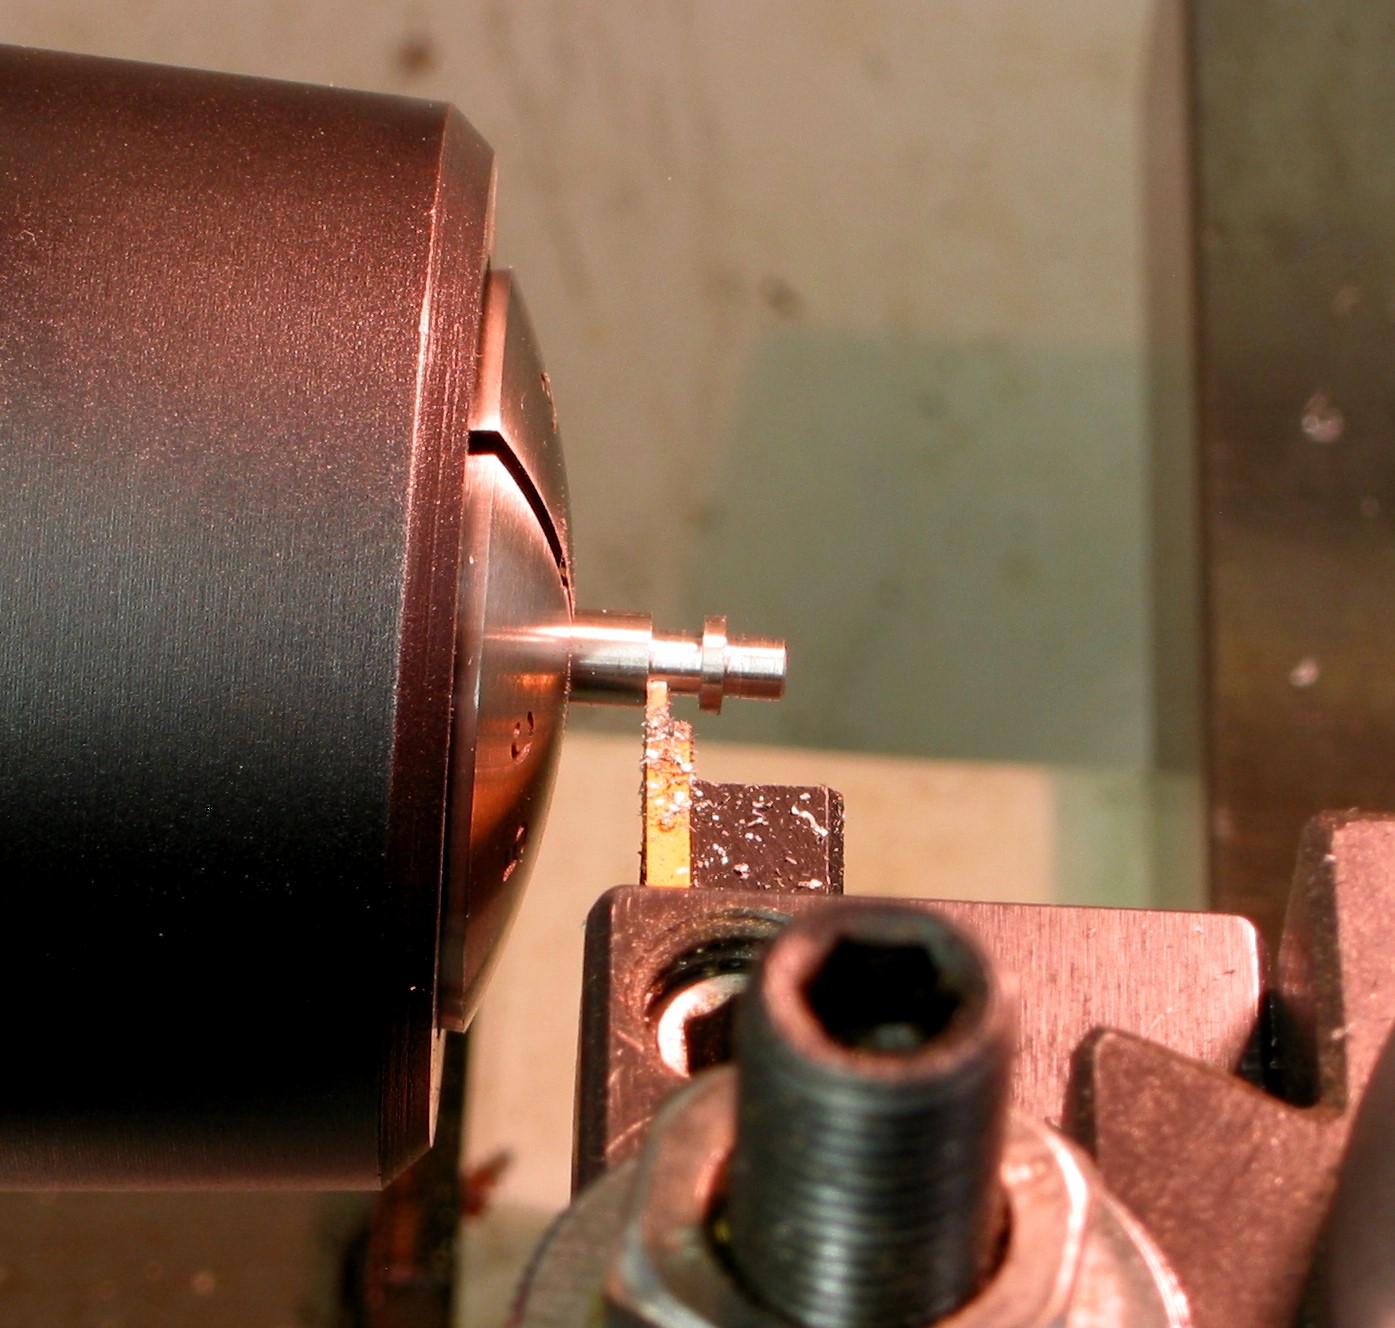
The
Trunnion pin is being turned down using a grooving insert. Taking small
cuts is the key ... good control and easy to get to the final diameter
... in this case .1235" to .1240".
|
|
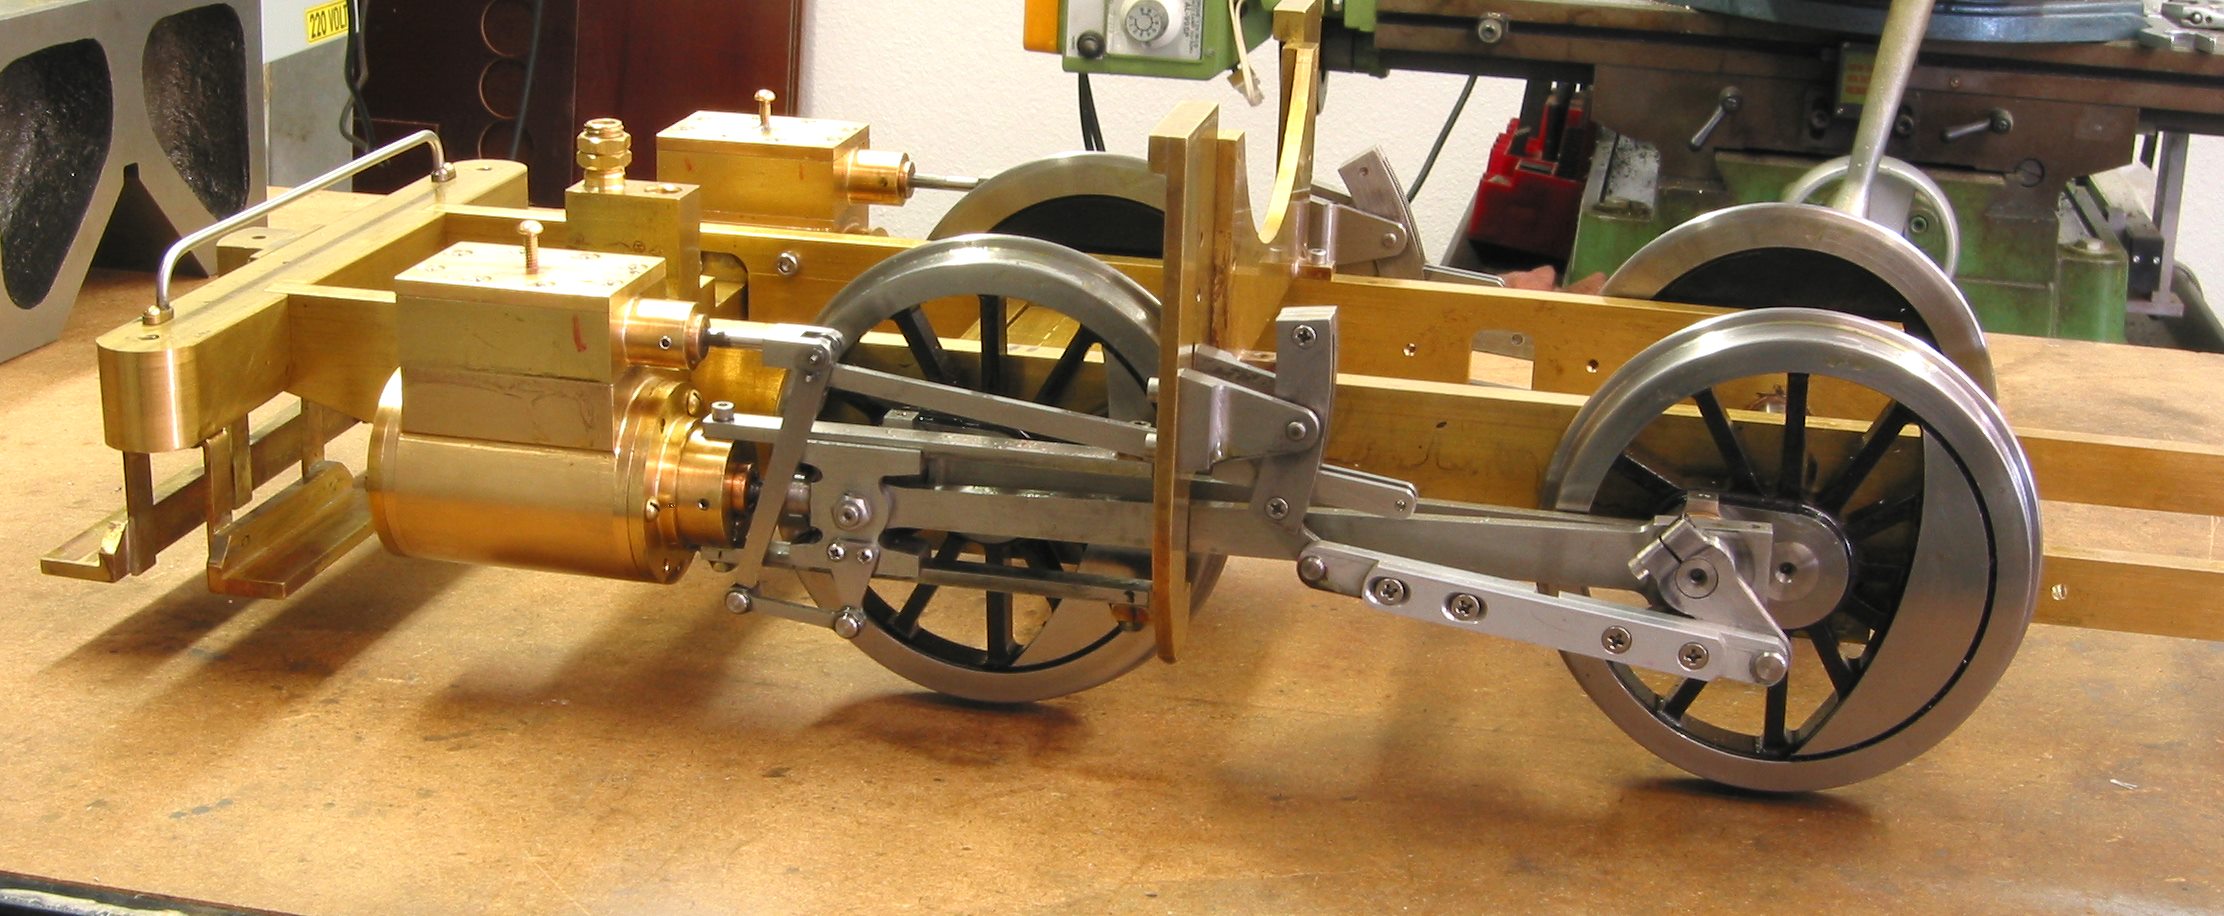
Part of the running gear ...
|
 |
|
See photo on left ... Notice that I have not finished the Eccentric
Rod yet. I'll get to it on my next CNC run. |
All assembled and ready to run on AIR!
|
|
|